Copper Pipe Shelf
Difficulty: Intermediate
Add a touch of industrial chic to your home with our adaptable shelf project.
Recommended products
What you’ll need
- Copper pipe
- Copper pipe connectors x 2
- Malleable iron floor flanges x 4
- Wood panel
- Epoxy/pipe adhesive
- Screws
Step-by-step instructions
Step 1: Cut Wood to Length
Cut the wood panel to your desired shelf size using a saw.


Step 2: Sand Down Rough Edges
Sand down the edges of the wood panel to remove any rough spots and create a smooth finish.
Step 3: Drill Pilot Holes in Shelf
Secure the wood panel and drill pilot holes where the copper pipe supports will attach to the underside, using a floor flange as a guide for the screw placement.


Step 4: Prepare Copper Pipe
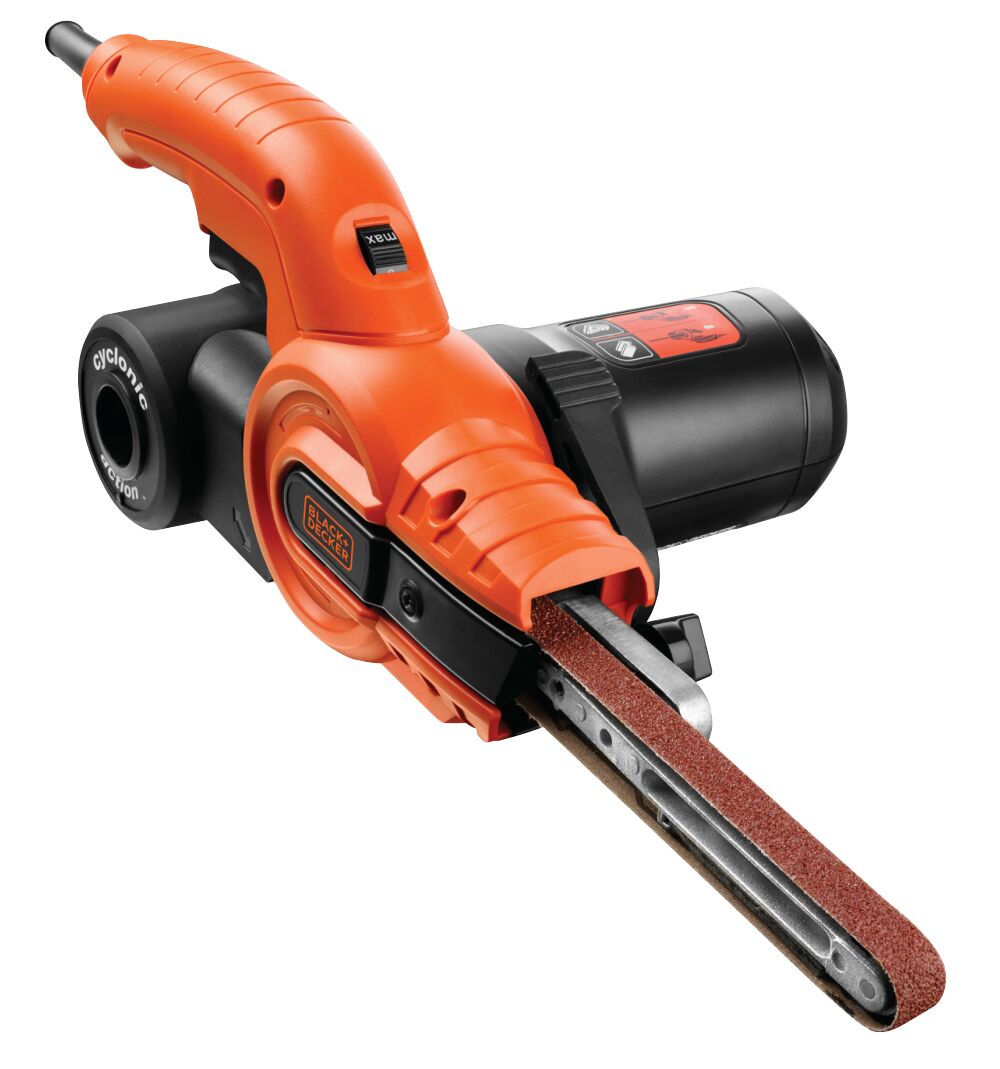
Secure the pipe and use a Powerfile™ belt sander to carefully strip down the surface to a clean, polished finish, removing any old paint or tarnish. Cut two matching sets of pipe to your desired shelf support lengths. Make sure to leave enough length to reach from your pilot holes to the wall!
Step 5: Assemble Shelf
Assemble the pipes, connectors and floor flanges, securing the connectors with epoxy or pipe adhesive following the manufacturer’s guidelines. Allow the adhesive to set fully for a strong hold then screw into your shelf’s pilot holes.


Step 6: Fix Shelf to Wall
Mount your shelf to the wall with an electric screwdriver or drill driver, ensuring it’s level and secure.


