Racing Car Bed
Skill Level: Intermediate
Give your children their first fast car by creating this speedy racing car bed.
Make their racing dreams become true. You can even customise the bed with their favourite colours.
Products You Will Need
Step by Step Instructions
Step 1.
Measure the length and height of the bed, to ensure your car shape will fit the existing bed frame nicely. Draw out the car shape within these dimensions.
Alternatively, if you can, lay the bed frame onto the 18mm MDF board and draw around the outline of the car shape that you require – not including the wheels though, as these will be cut separately later on.
Step 2.
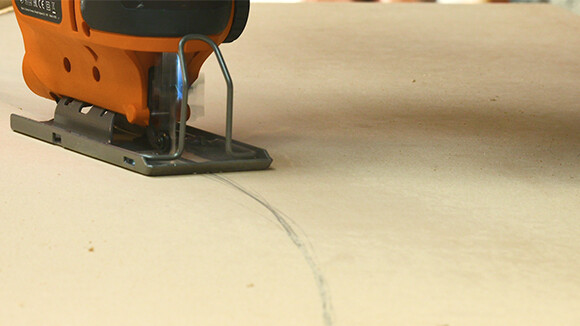
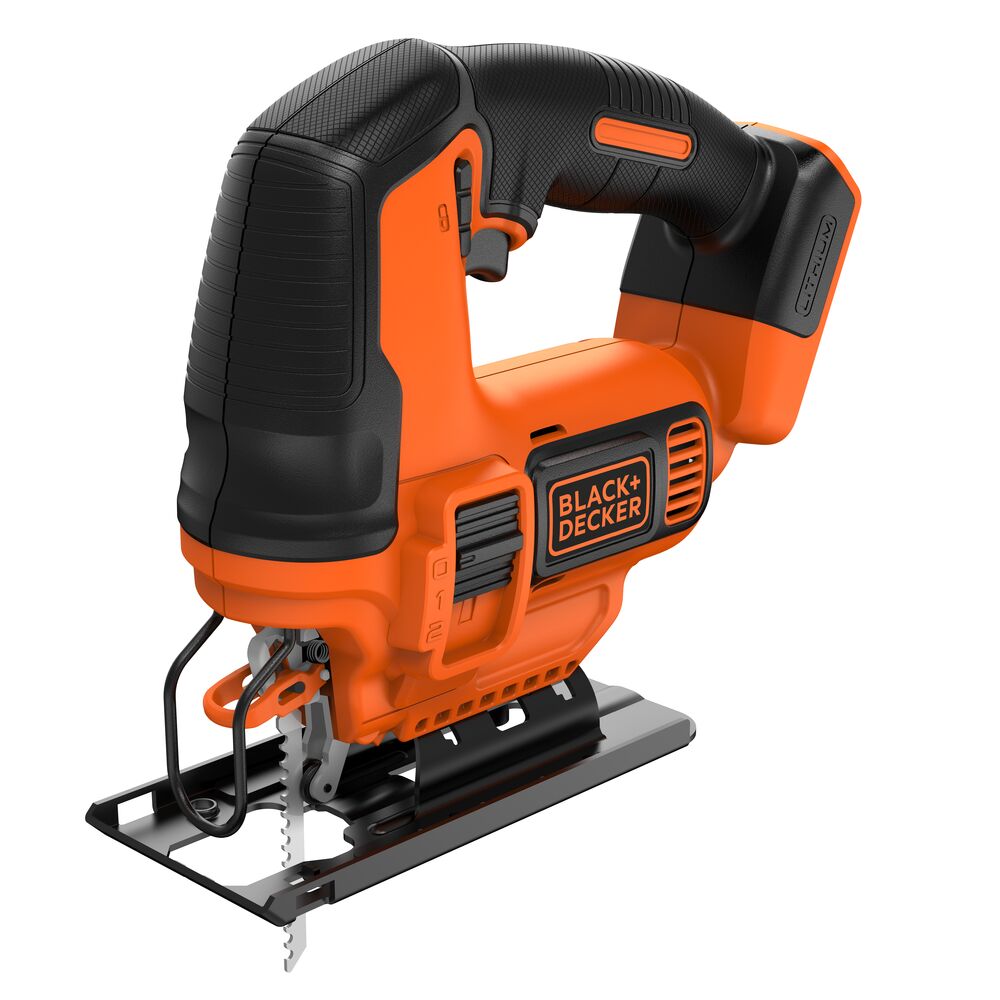
Using a jigsaw cut out the first side.
Step 3.
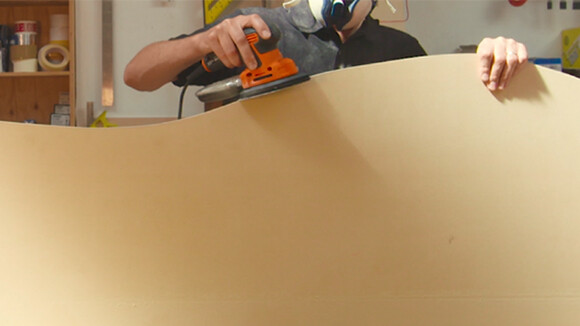
Sand all curves and edges with the sander, to give a nice smooth finish.


Step 4.
Draw around this first side to match the shape of the second side. You can minimise any wastage by putting these as close together as possible.
Step 5.
Using a jigsaw, cut out side number two – and sand edges.
Step 6.
Measure the width of the bed. This will be the width of the front panel and the shelf.


Step 7.
Depending on the height of your bed, decide how high you want the front panel and how deep you want the shelf. Use your carpenters square when marking the width to ensure a square cross cut. Cut out the front panel and shelf using a circular saw.
Step 8.
Find a suitable size template (dinner plate, circular tray) to draw around for the wheels from the 12mm MDF. Cut 4x of these out using your jigsaw. These will be the wheels.
Step 9.
Sand the edges of the wheels with the sander.
Step 10.
Now, it is time to paint the body and wheels in whatever colours you choose! You may also need to paint the visible parts of the original bed frame.


Step 11.
When dry, screw the sides to the bed frame being sure to drill a pilot hole first. This will ensure the bed frame does not split and that the screw head sits neatly to the surface of the wood. (TIP: prop the side panels up on blocks before attaching to the bed so that there is some clearance from the floor).
Step 12.
Screw front (foot) panel to the bed frame (plus pilot hole). You may find it helpful to turn the bed on its side when doing this.


Step 13.
Attach the shelf at the front of the bed, with a drill.
Step 14.
Touch up any paintwork that you may have missed and apply a clear varnish.


