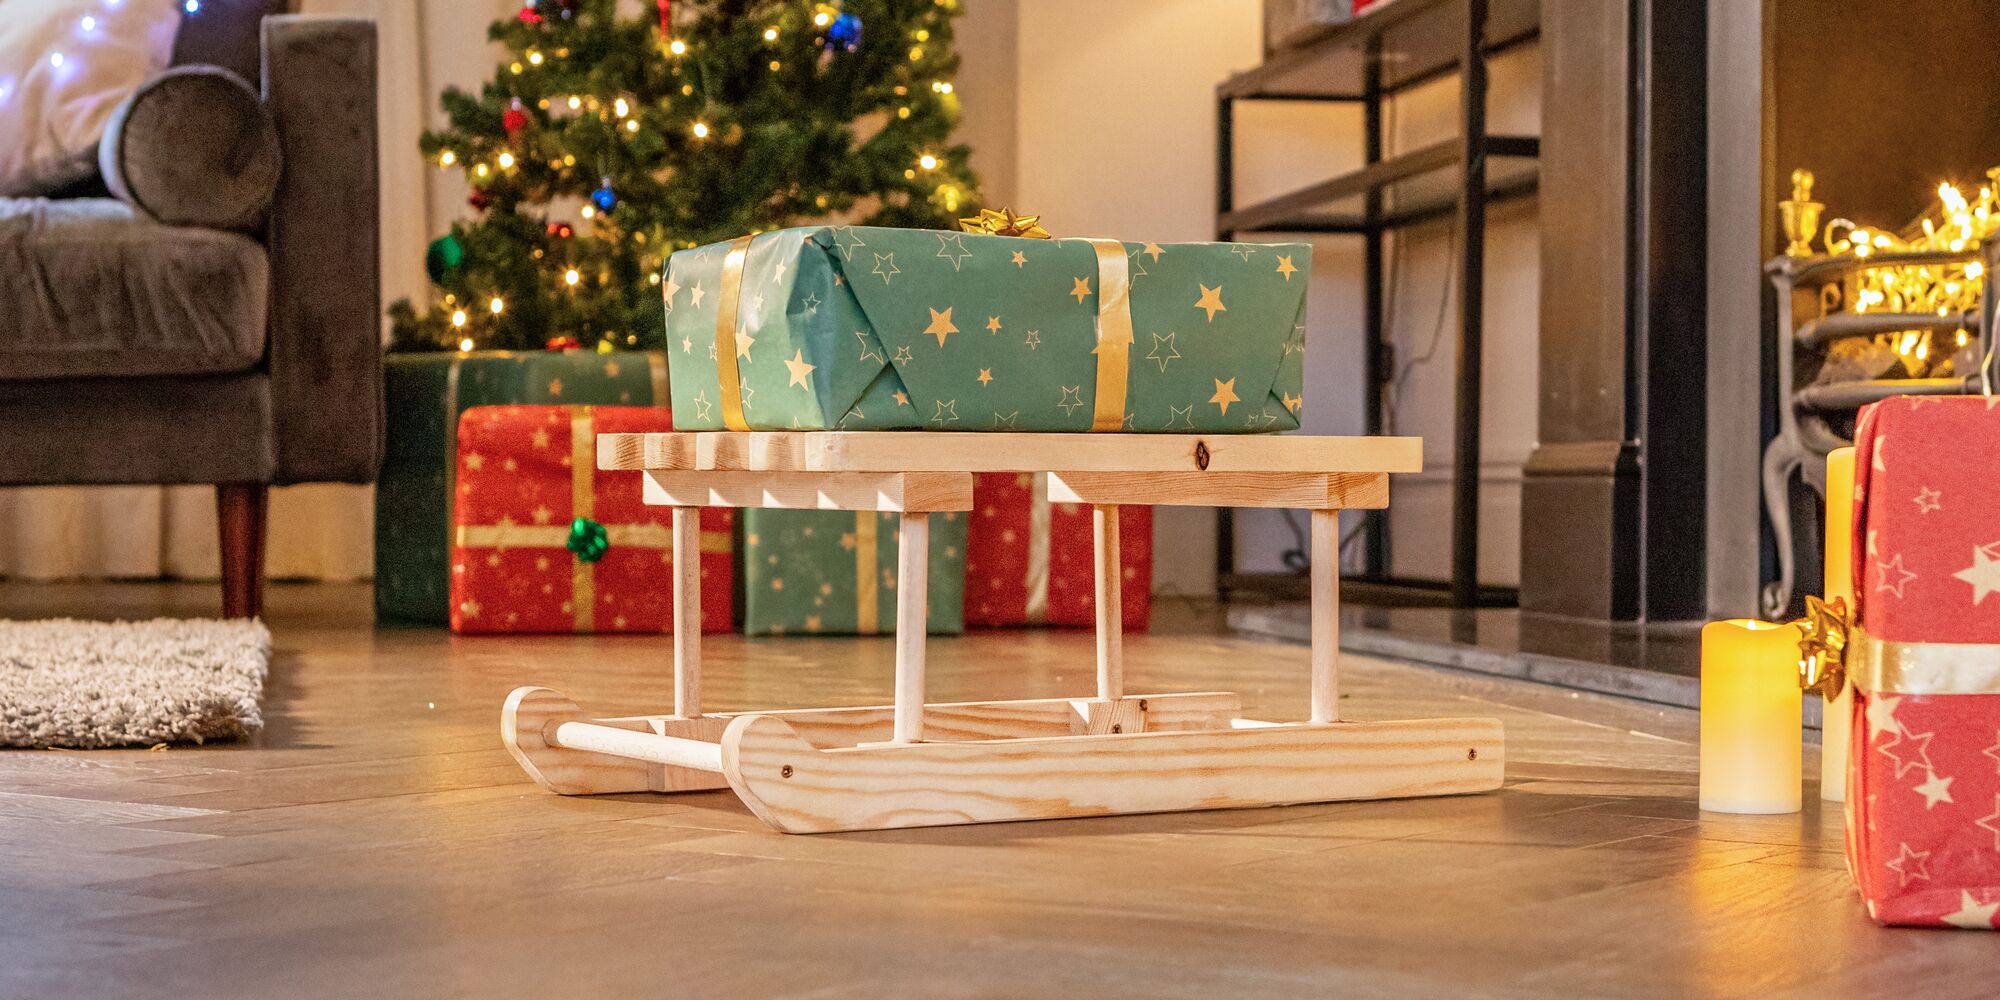
Wooden Sleigh
Difficulty: Intermediate
Elevate your festive décor with our cute mini sleigh stand.
Please note: these are guidelines for a display sleigh that is for decorative use only.
Recommended products
What you’ll need
- 2” x 1” (50mm x 25mm) softwood timber (3 meters)
- 3” x 1” (75mm x 25mm) softwood timber (1 meter)
- 15mm timber dowel (1 meter)
- 120g sandpaper sheets
- 4mm x 30mm wood screws (approx. 14)
- 4mm x 50mm wood screw (approx. 4)
- Glue gun/super glue
- Danish oil (or finish of your choice)
Step-by-step instructions
Step 1
Measure and cut your timber to the following lengths, then sand.
- Five 2” x 1” planks at 40cm long for the seat slats
- Two 2” x 1” planks at 30cm long for the base slats
- Two 3” x 1” planks at 50cm long for the feet
Step 2
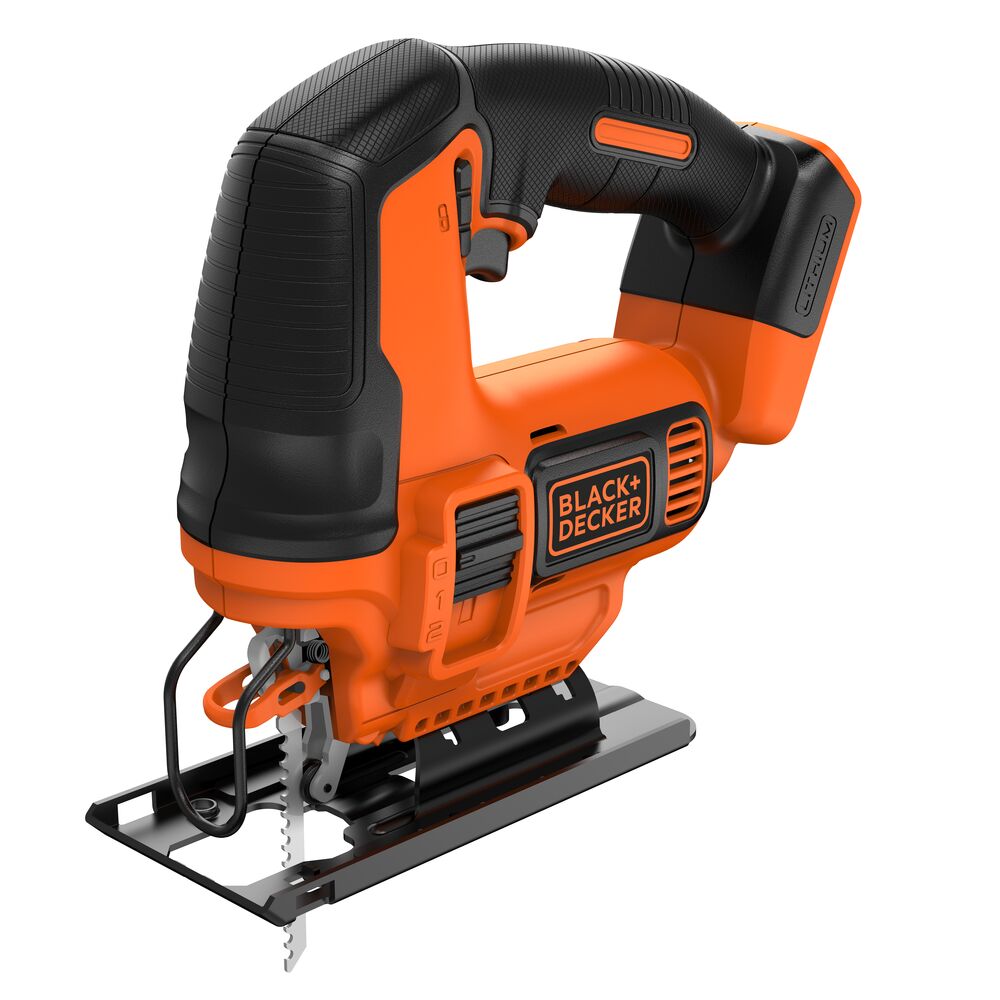
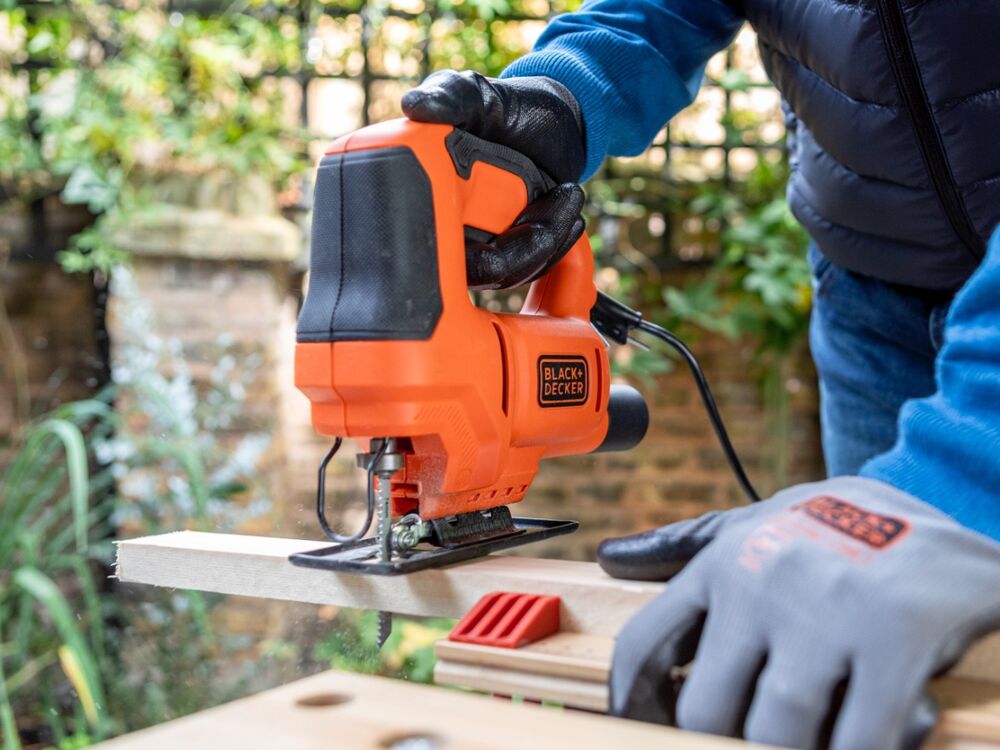
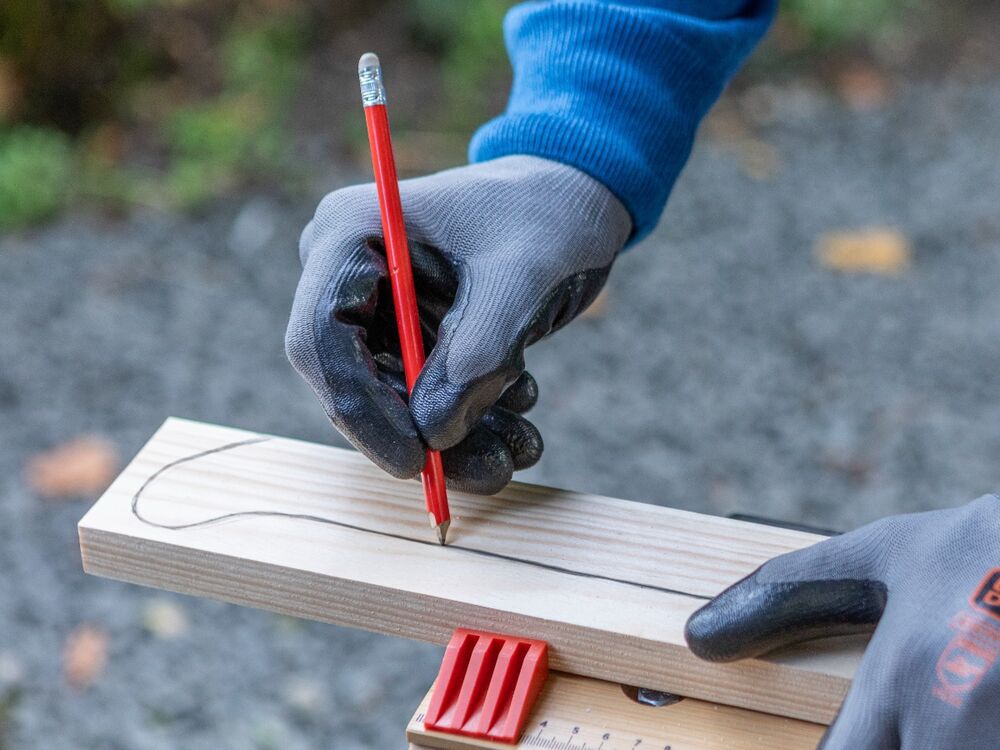
Take your two 50cm planks and draw the shape of the sleigh feet with a pencil. Cut your feet out with the jigsaw and sand smooth.
Step 3
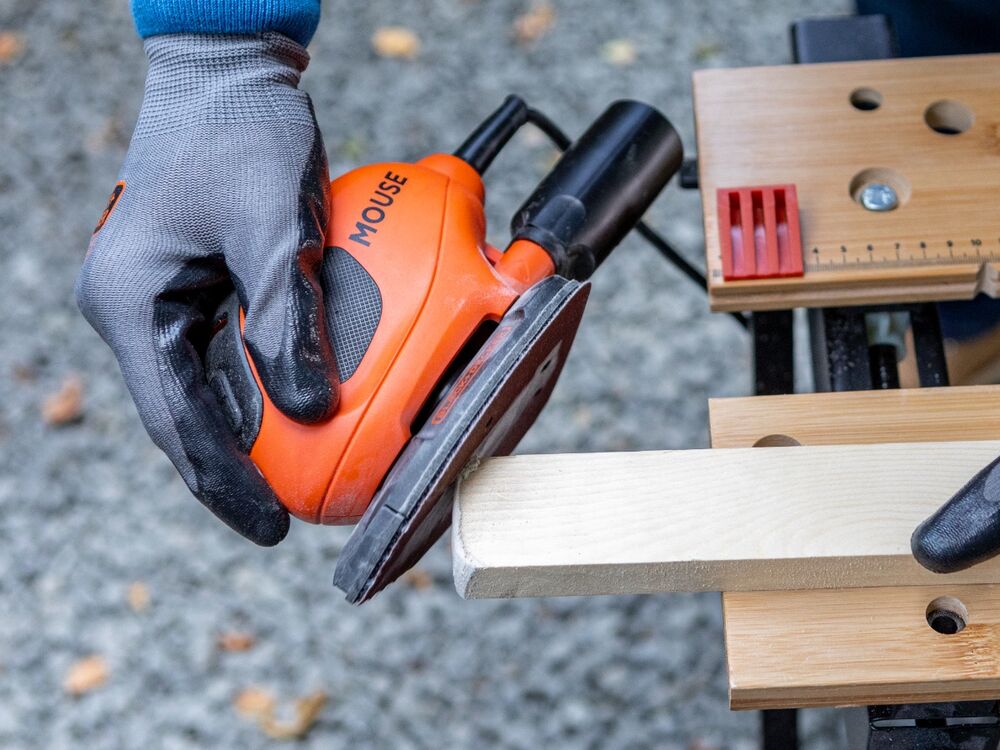
Use a sander to curve the ends of your 40cm seat slats.
Step 4
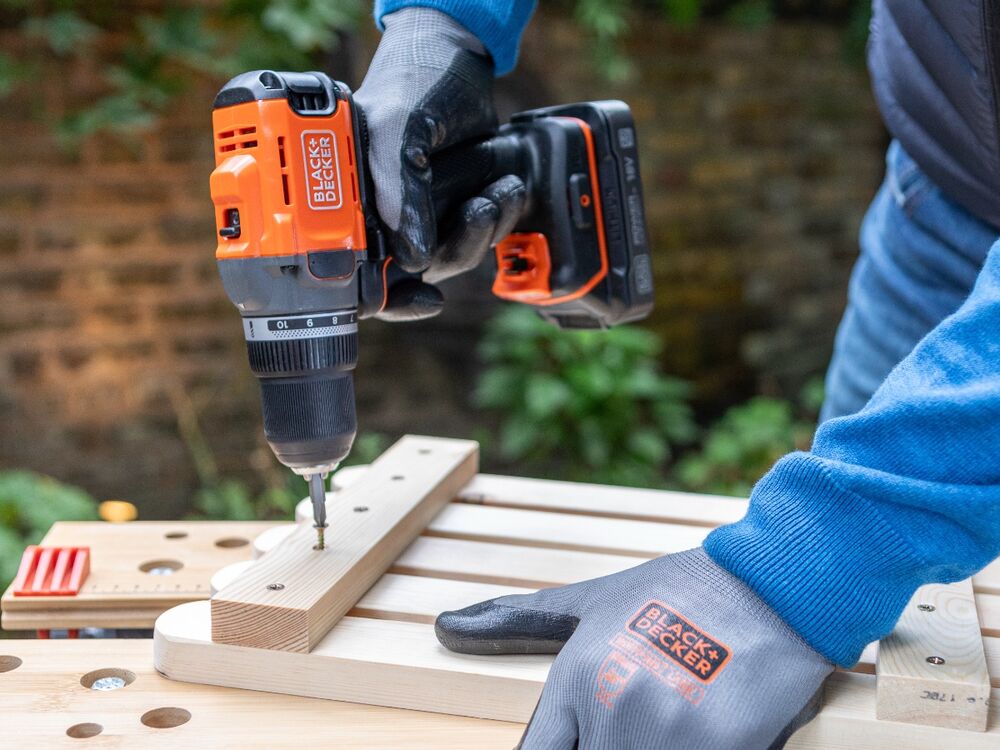
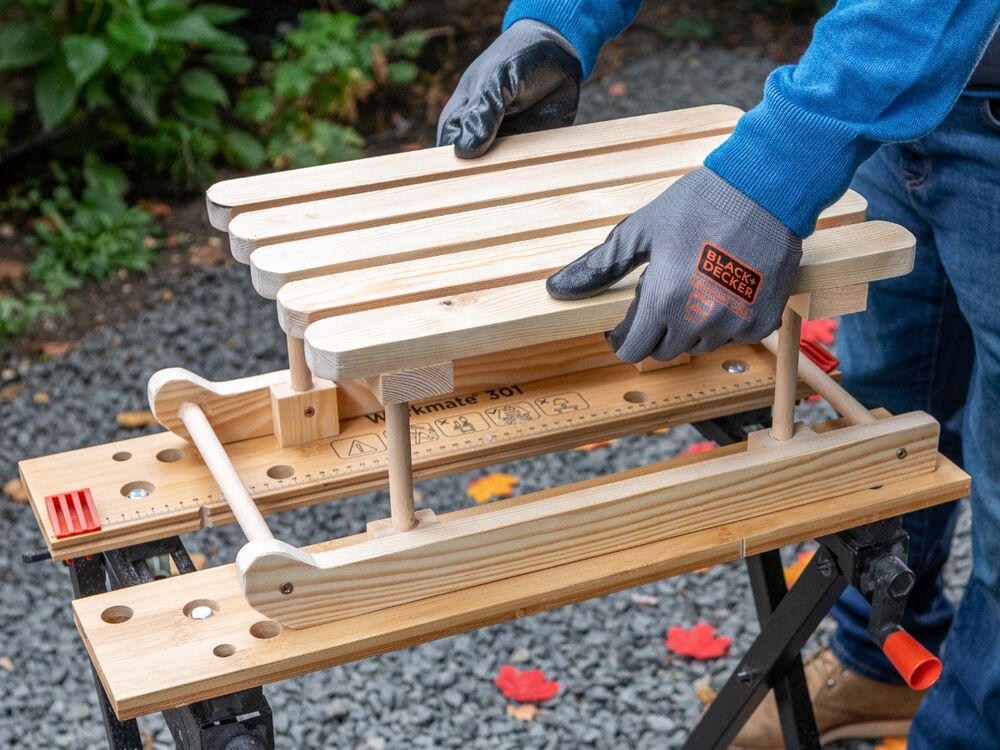
Evenly line up your seat slats under your 30cm base planks, positioned like in the image above. Attach these with your wood screws. You now have a sleigh seat!
Step 5
Cut your dowel to the following lengths:
- Four at 10cm for your legs
- Two at 25cm for your sleigh supports
Cut four square blocks from your 2” x 1" timber. Screw them to the insides of your sleigh feet, around 10cm from each end, making sure they line up with your seat’s base planks! These are where your dowel legs will sit.
Step 6
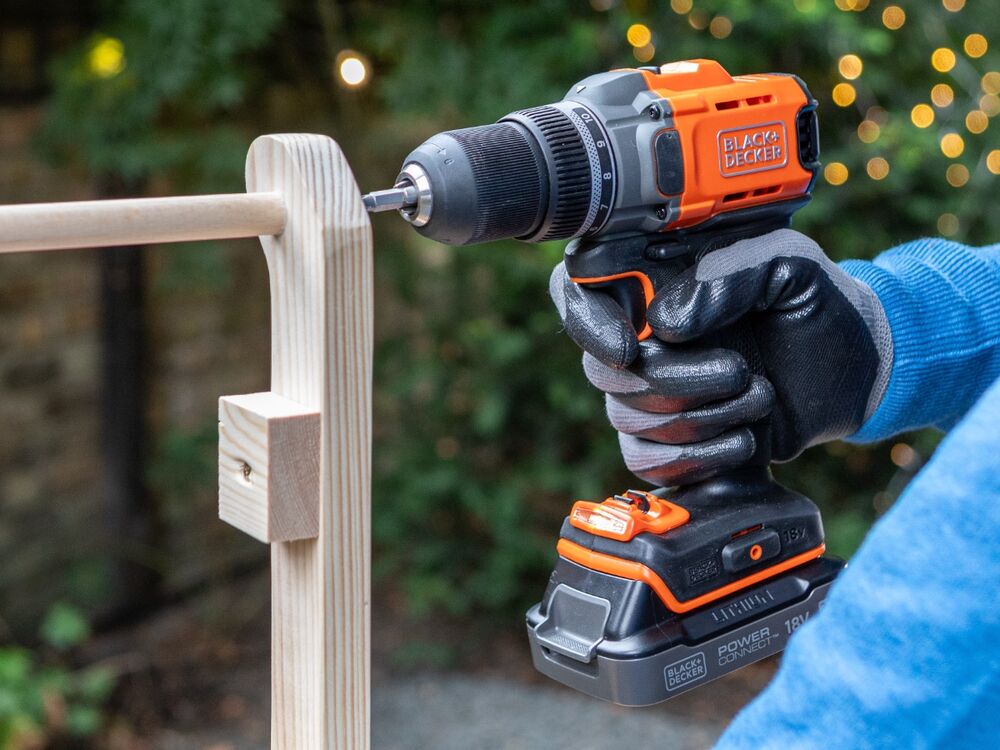
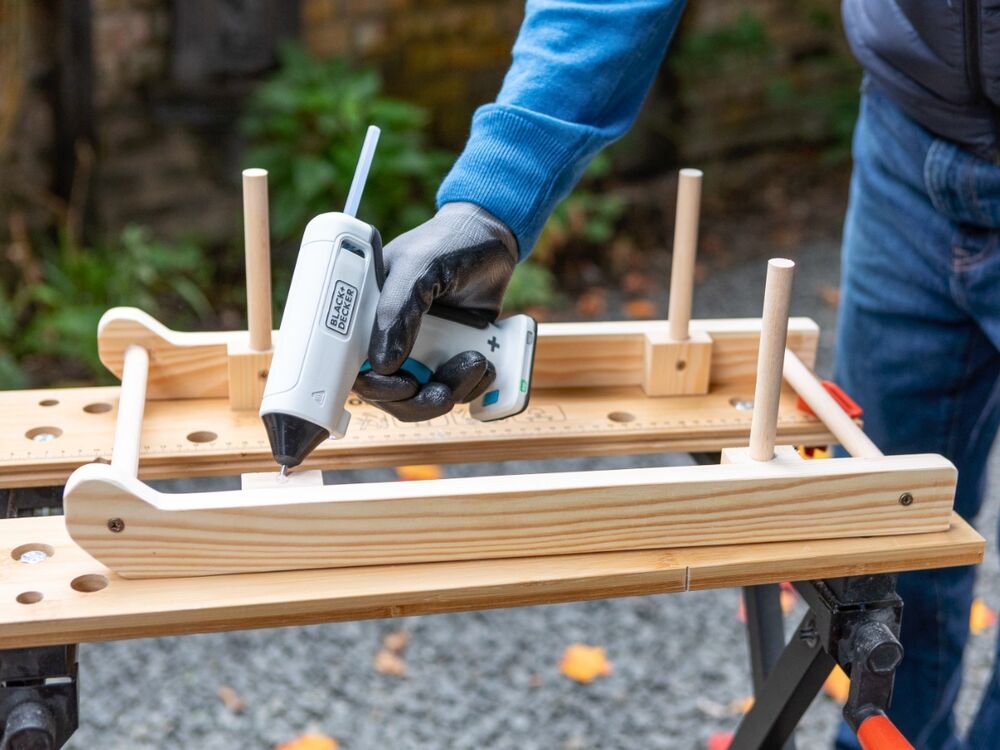
Attach the 25cm sleigh supports to the inside edges of the sleigh feet using glue and 4 x 50mm wood screws. Then glue the 4 x dowel feet to the top edge of the square timber blocks.
Step 7
Glue your seat to your base. Press the seat firmly in place until the glue bonds.
Step 8
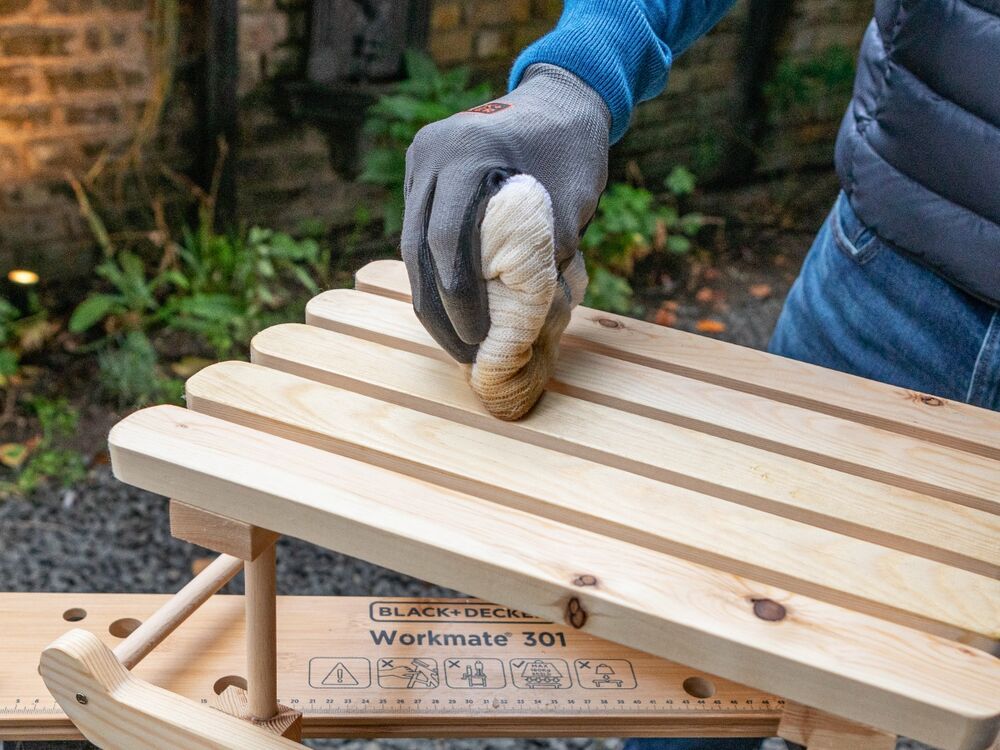
Once the glue has dried, add your finish. We applied two coats of Danish oil for a natural look, but you can pick whatever suits your style!

